Couple of weeks ago I bought a used Akai S5000 sampler. It was in full working condition and included a Seagate Barracuda SCSI harddisk as internal storage. Well….I guess I’m a little bit too used to quiet SSD drives these days because ancient SCSI disks are quite loud.
So I searched the internet for alternatives and bumped into the following website:
https://www.codesrc.com/mediawiki/index.php?title=SCSI2SD
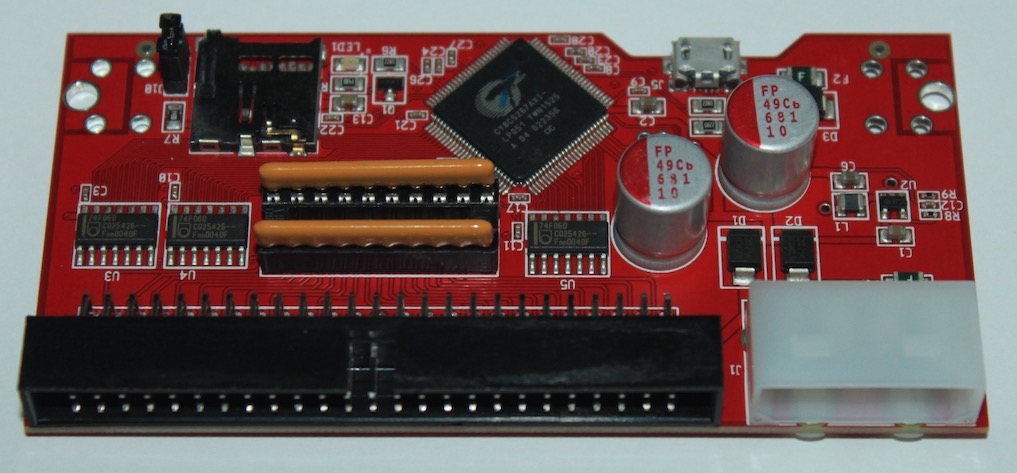
A guy from Australia had the same issue and developed a SCSI interface board which uses SD cards to emulate harddisks 🙂 Perfect to get the sampler nice and quite and as OS 2.24 for the Akai also supports FAT32, I can easily transfer files.
Note: There is a V5 and V6 version of the board available. I chose the V5 as it has better compatibility with older equipment.
The next section will explain how to install and use this is combination with an Akai S5000.
Shopping list
- SCSI2SD interface card (ordered mine from Amigakit in the UK)
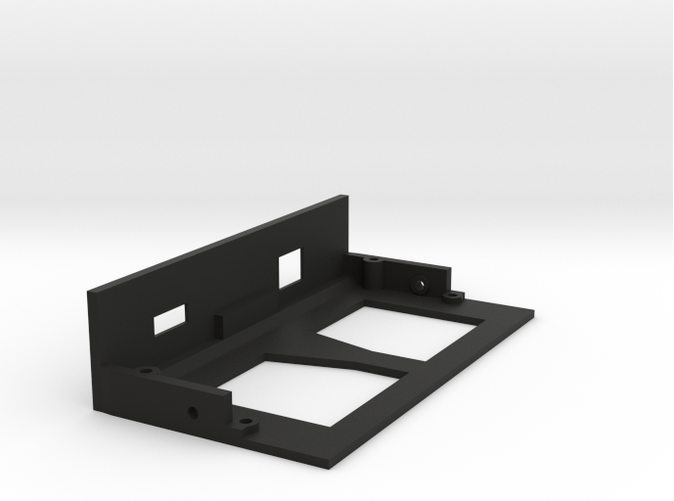
- Floppy bracket (can be ordered at Shapeways, note: go for black)
- SCSI-2 50 pin ribbon cable (the original one will be too short to reach the front)
- Class 10 micro SD card (I’m using a Lexar 300x 64 GB card)
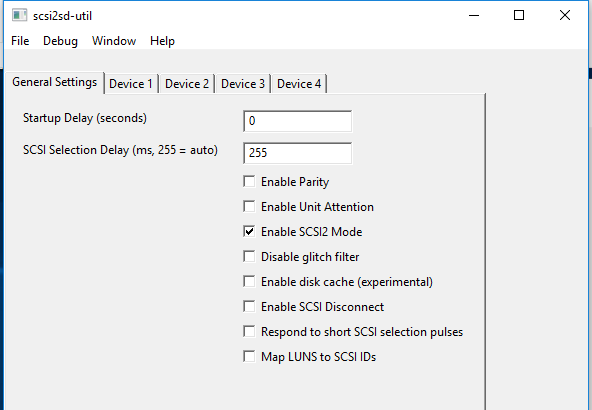
SCSI2SD configuration
- Start by downloading the configuration software for the SCSI2SD interface. I’m using a Windows laptop for the configuration so check the scsi2sd website for instructions for OSX.
- Make sure the micro SD card is installed in the slot on the interface
- Connect a USB cable from your computer to the micro SD connection on the SCSI2SD card
- Make sure nothing else is connected to the SCSI2SD card!
- Start the scsi2sd-util.exe tool
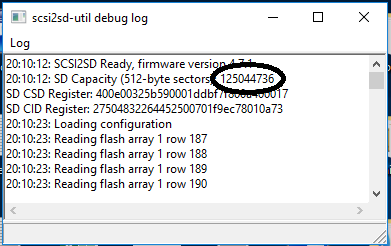
- Check the log window (hiding behind the main utility window) and mark down the sector size of the SD card
- Now switch back to the main utility window
- Under General Settings, select Enable SCSI2 mode
- Now switch to the tab Device 1
- Enter a SCSI ID under Enable SCSI target. Any number between 0 and 5 should be fine. Do NOT use 6 as it is reserved for the Akai SCSI controller.
- Device Type, make sure to select Hard Drive
- Sector count, fill in the number you marked down earlier decreased by 1 (so 1 sector less)
- Click Save to device at the bottom.
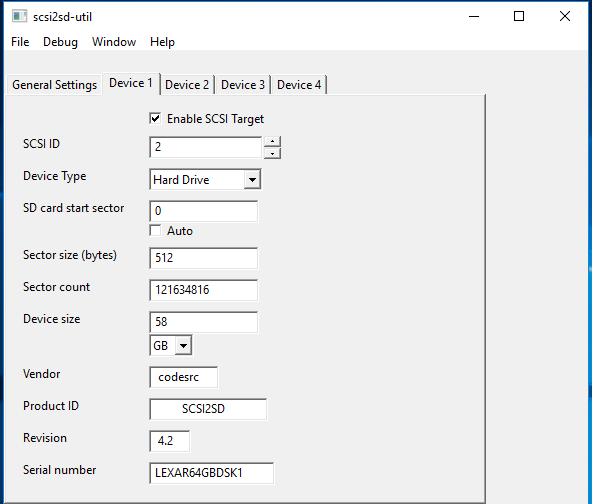
- Wait until the utility has saved all the data to the SCSI2SD card
- Disconnect the USB cable
Installation
- Disconnect the power cable of the sampler
- Open up the top cover by removing the 4 top screws and the screw at the back
- Remove the hard disk (if any is installed) and the floppy disk
- Replace the current SCSI cable with the new longer cable. Pay special attention to keep the red marked side with pin 1 on the connectors.
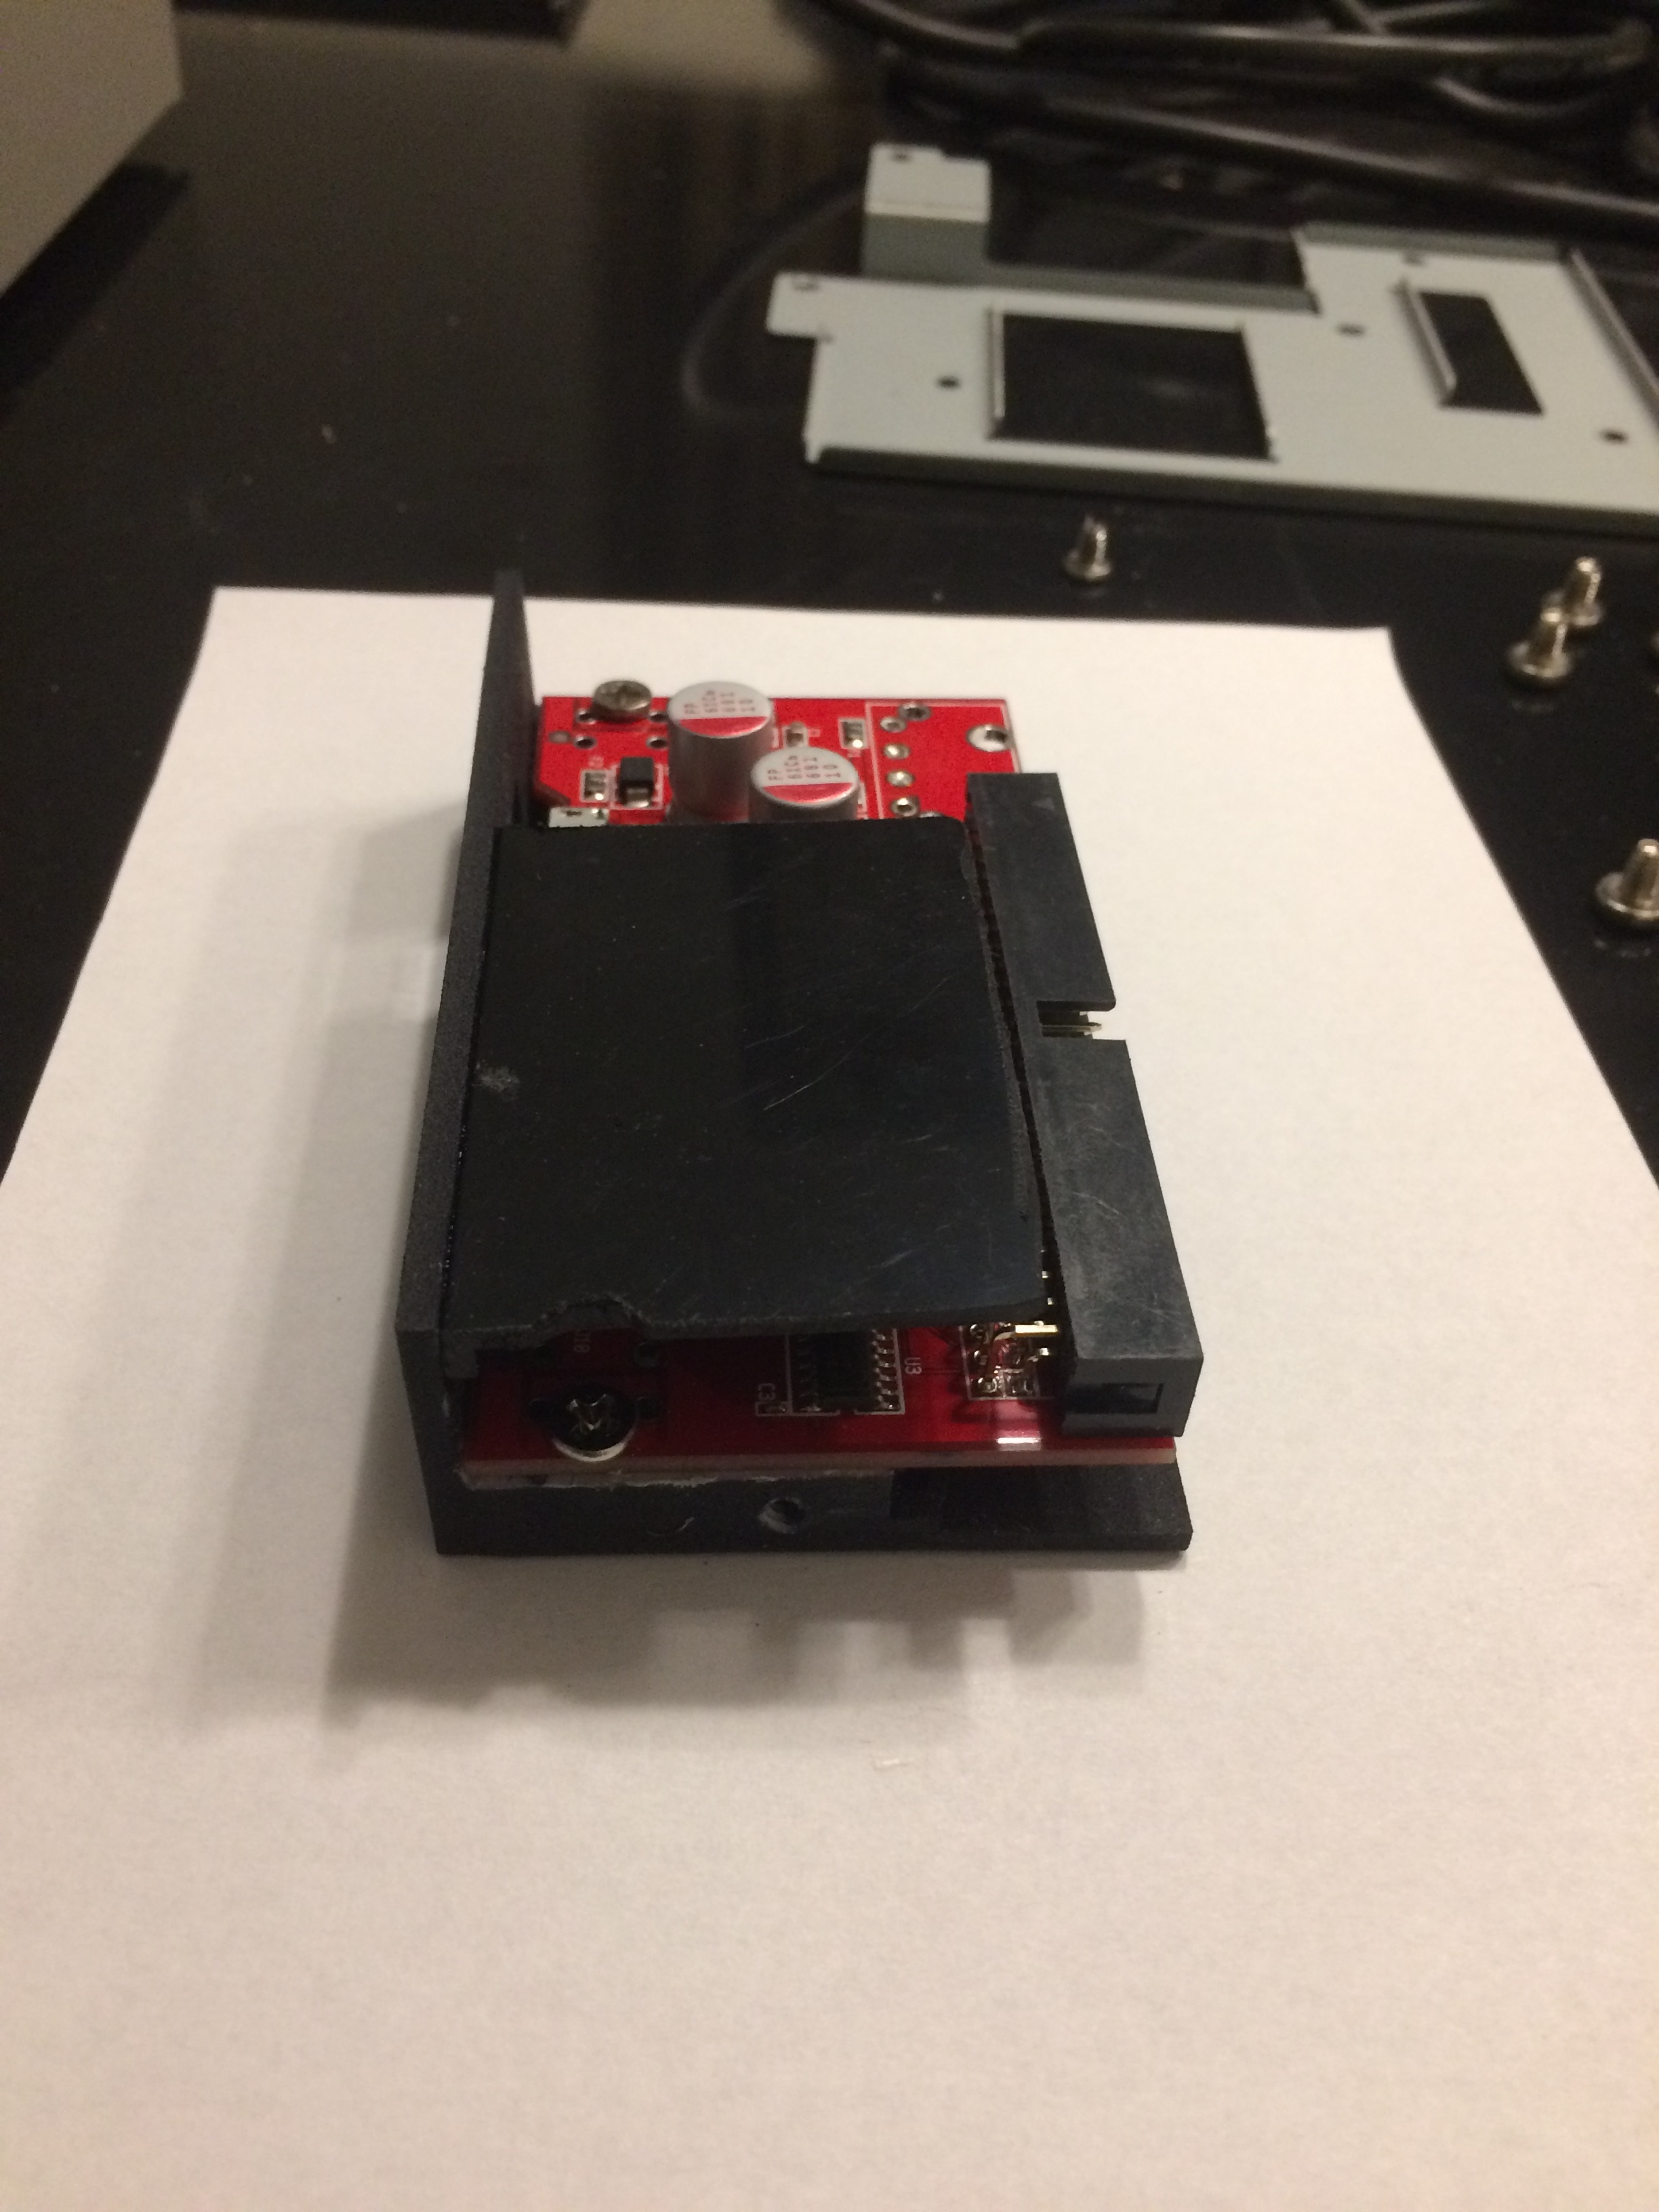
- Install the SCSI2SD card into the new floppy bracket with 2 screws.
- Note1: There is no need to connect power to the SCSI2SD card as it is powered through the SCSI cable.
- Note2: Leave the SCSI terminator banks in place on the SCSI2SD card
- Connect the SCSI cable to the SCSI2SD card
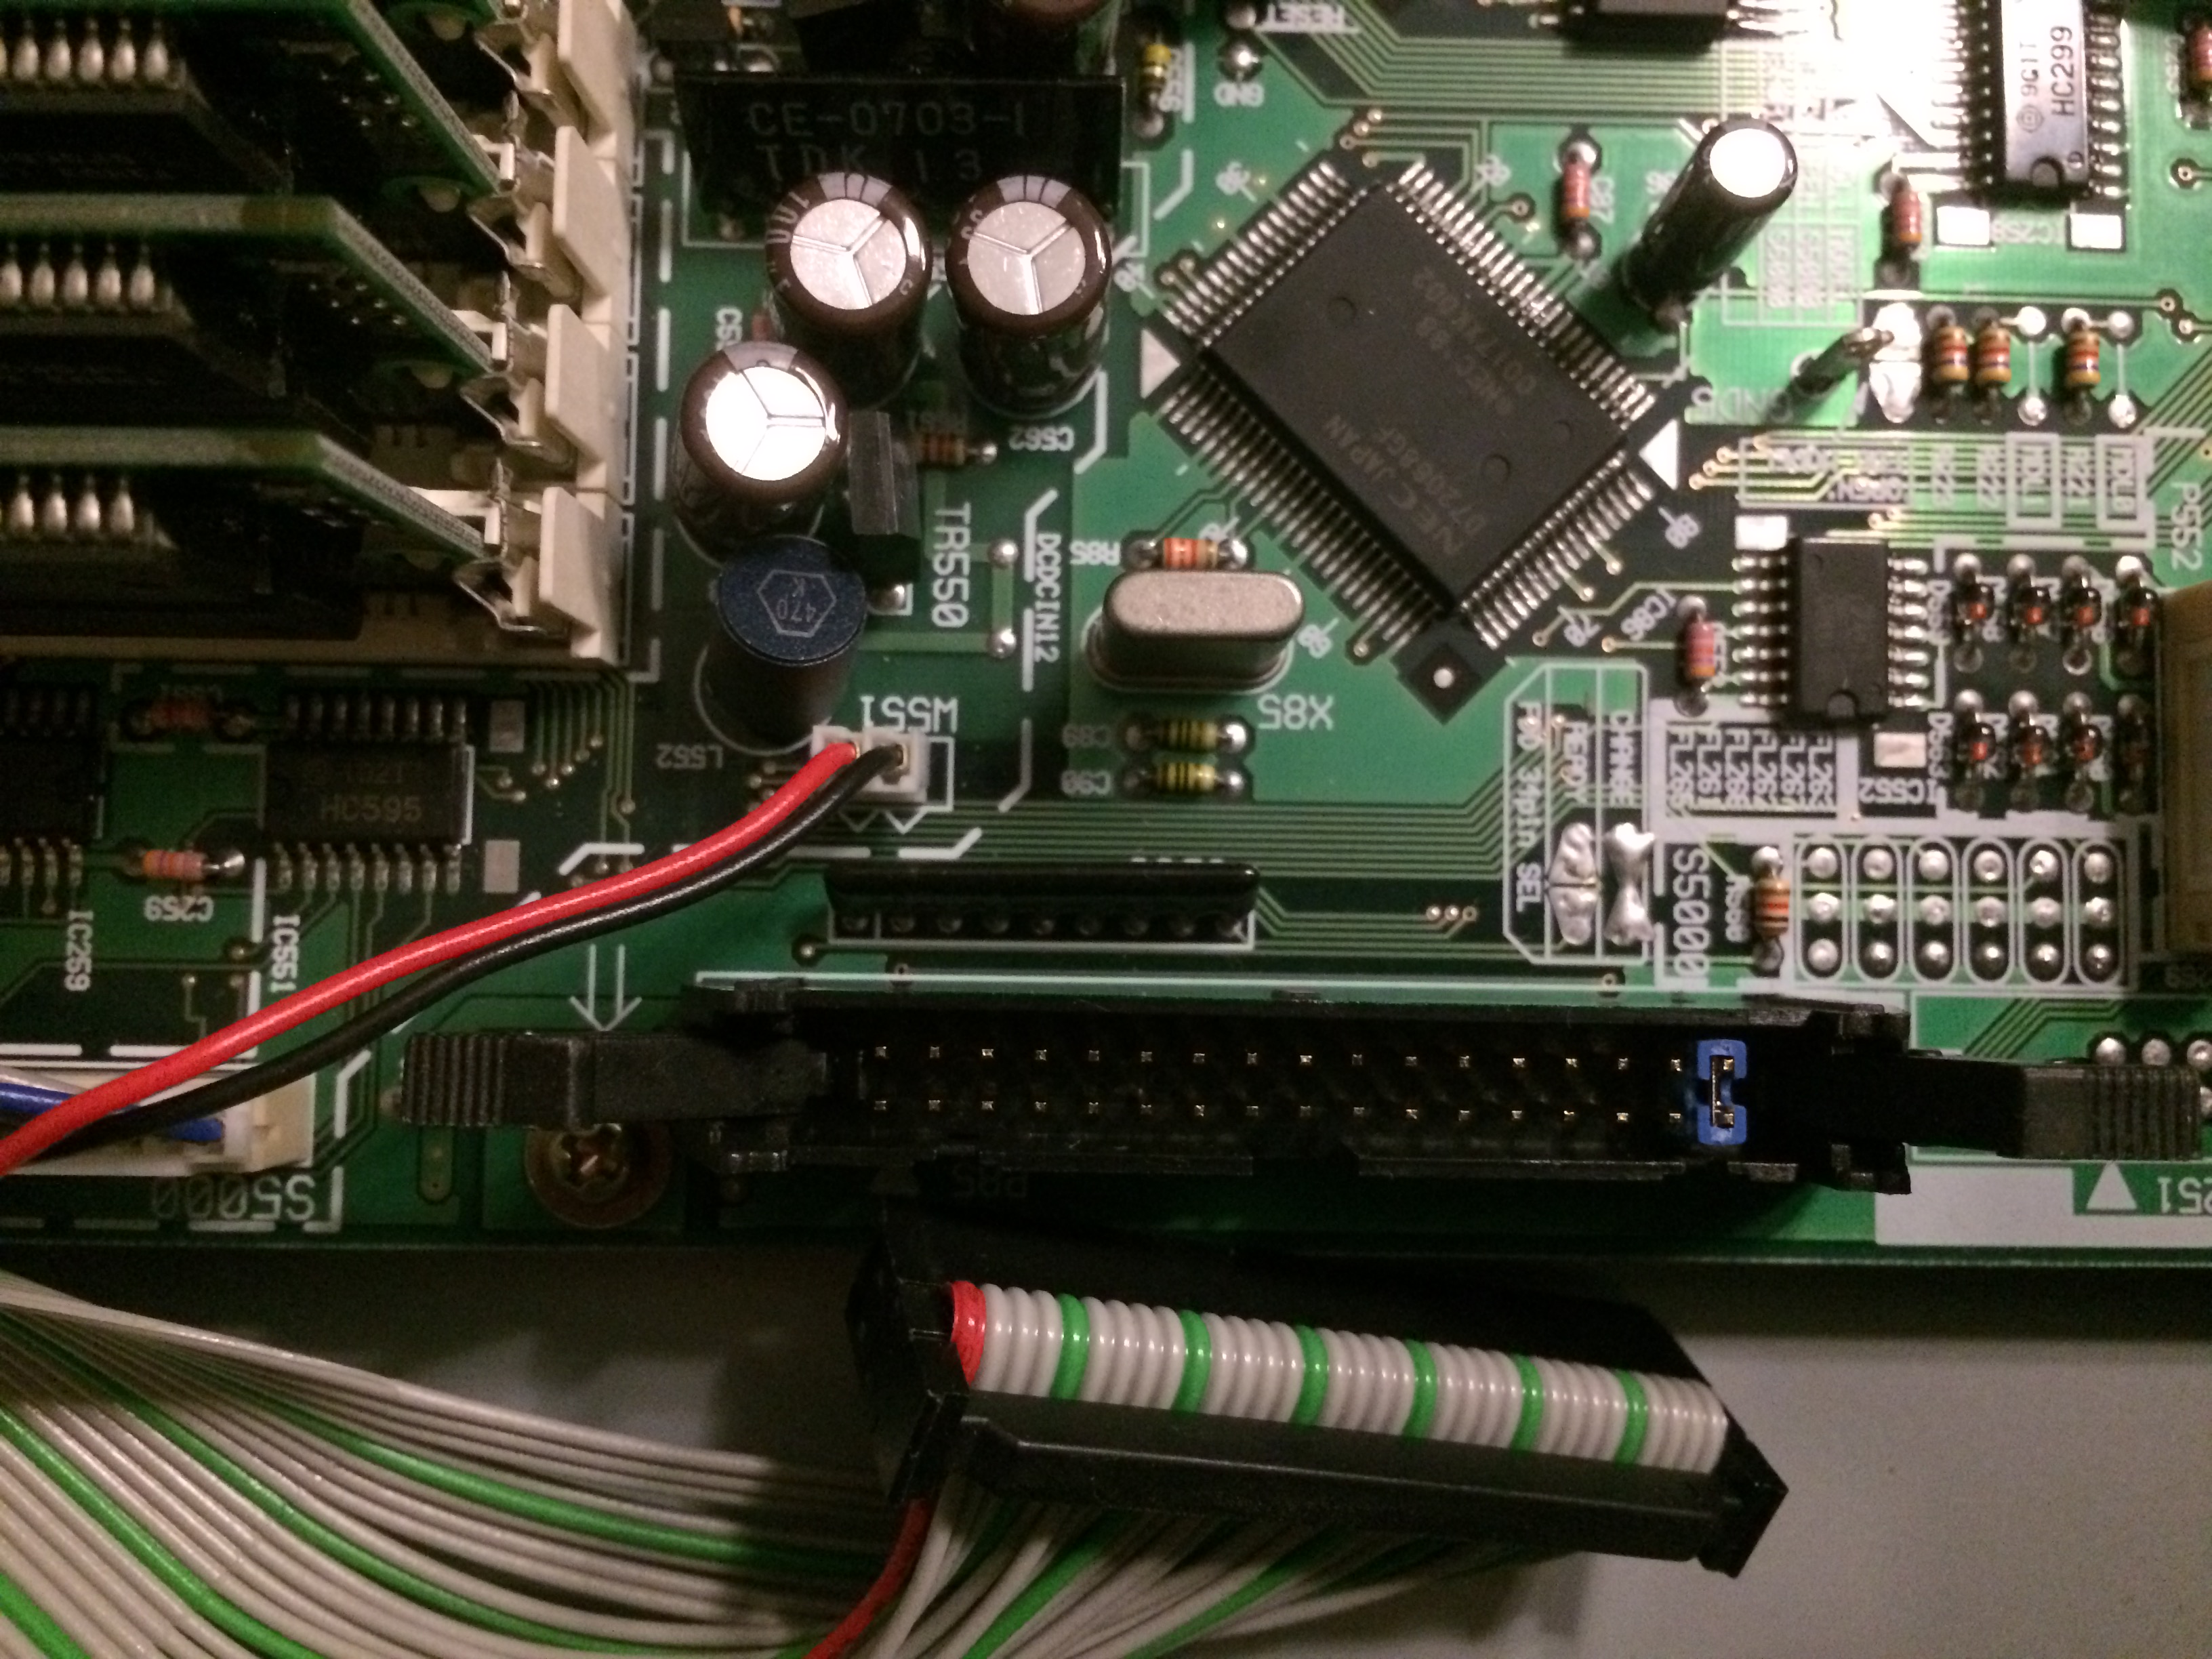
- Remove the floppydisk cable and place a jumper on pin 33 and 34 (see picture below). This will fake the S5000 by telling it there is still a floppydisk installed. Otherwise when you start a format, it will hang at the end when it automatically checks the state of the floppydisk.
- Check for any possible short circuits and proper cable connections
- Close the top lid and reinsert all screws again
Akai setup
- Power up the Akai
- Press UTILITIES – DISK TOOLS – DISK LIST
- Select the hard disk
- Press FORMAT DISK
- Choose either QUICK or FULL FORMAT (choose FULL if you have issues with the SD card)
- Press PROCEED
- Enter a name for the hard disk
- Press YES
- Wait until the format has finished
Additional notes
Do not use your computer to format the SD card as the partition will most likely not align properly with the disk defined in the SCSI2SD card. As a rule of thumb, it’s always good to always format media on the device you intend to use it on.
When I first setup the card, the format actually got stuck at the end and never finished. After some experimentation, I found that disks below 2 GB worked fine (these will be formatted as DOS and not FAT32). When I added a second disk in the SCSI2SD configuration, it formatted fine with FAT32. This behaviour puzzled me a bit and after some further research, I found out it was caused by the fact that the Akai OS actually checks the floppy disk after the hard disk format finishes. The easy fix for this is to install a jumper on pins 33 and 34 of the floppydisk connector on the mainboard as to emulate a “drive ready” signal for the OS.
Second issue I bumped into, is that the yellow activity LED on the SCSI2SD card is quite bright and lights up the keys to the right of the floppy drive on the front panel of the sampler. I fixed this by gluing a piece of plastic on top of the floppy bracket to shield the light (see picture below). I even went a step further and installed a light guide from an old TP link adapter to show the LED activity on the front of the floppy bracket.