As the S1000 was the only one of my samplers which hadn’t been given the SCSI2SD treatment yet, it was time to rectify this. My S1000 already had the SCSI controller installed so should be easy enough, right?
Well…turned out it was a bit more work then I thought so for anyone with the same plans, here’s what worked for me.
Step 1 – Get an SCSI2SD v5.1 with the floppy disk bracket
Although I will not mount the SCSI2SD in the place of the current floppy disk (as I still want to be able to load samples of floppy disk), the floppy disk bracket is handy to mount it in place of one of the option cards at the back.
Step 2 – Solder a 50 pin male header on the SCSI controller
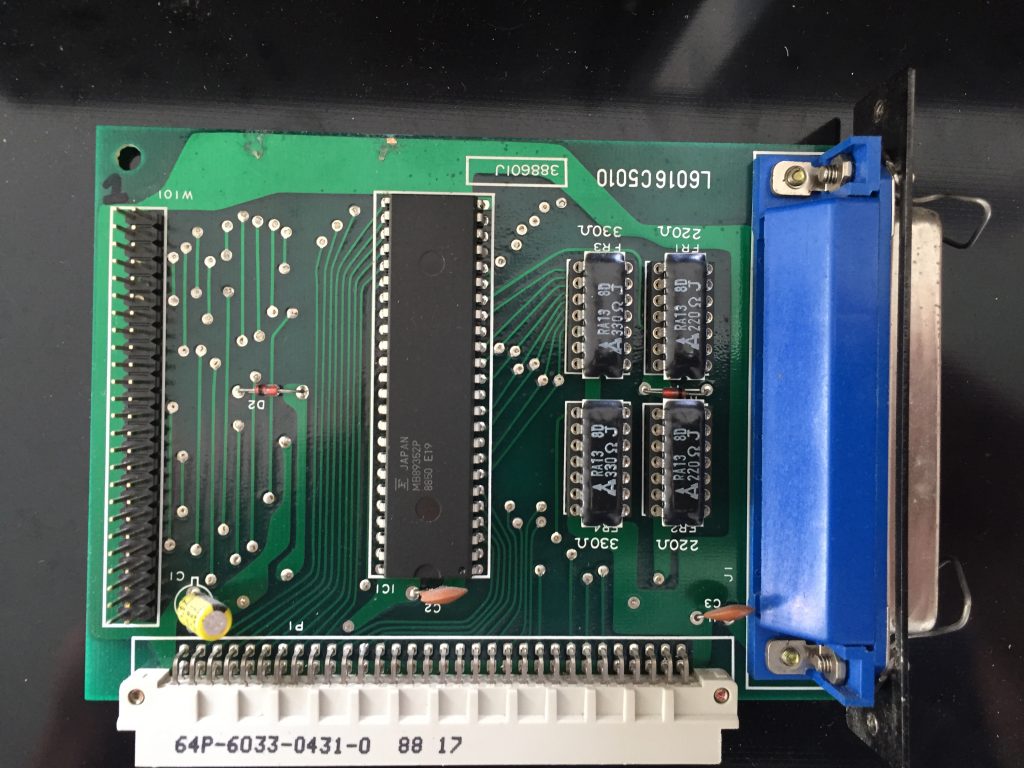
As the normal S1000 (not the S1000HD) was only meant to have external harddrives connected to it through the Centronics connecter at the back, the controller card doesn’t have the internal connector installed by the factory. Simply get a 50 pin male header and solder it onto the board. The header should be on the same side as the rest of the components. Pin 1 (for cable orientation) is at the top of the board.
Step 3 – Modify the floppy bracket
Using the original metal blanking plate as a template, drill 2 small holes (2.5mm) in the floppy disk bracket. You can then use the original screws to mount the bracket. Don’t over tighten the screws as this is plastic.

Step 4 – Modify the metal option card holder
The metal bracket on top of the option cards prevents the cards from wiggling too much in their connectors in the motherboard. I had to Dremel extra notches in the bracket to hold the SCSI2SD card. As the power connector of the SCSI2SD card is at the edge of the PCB, I had to remove some extra metal on that side as well.
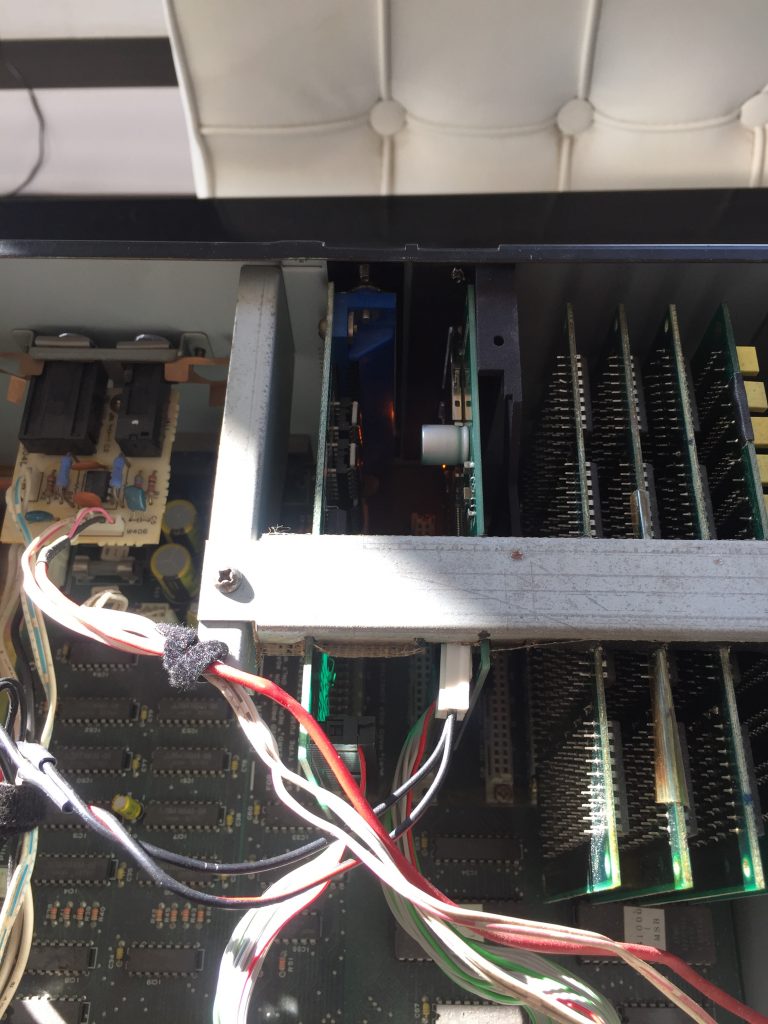
Step 5 – Install the SCSI cable
Get a suitable 50 pin SCSI cable and simple connect it to the SCSI controller board with pin 1 (marked with red stripe) pointing upwards. The other end goes into the SCSI2SD card (the notch on the connector will force the correct orientation).
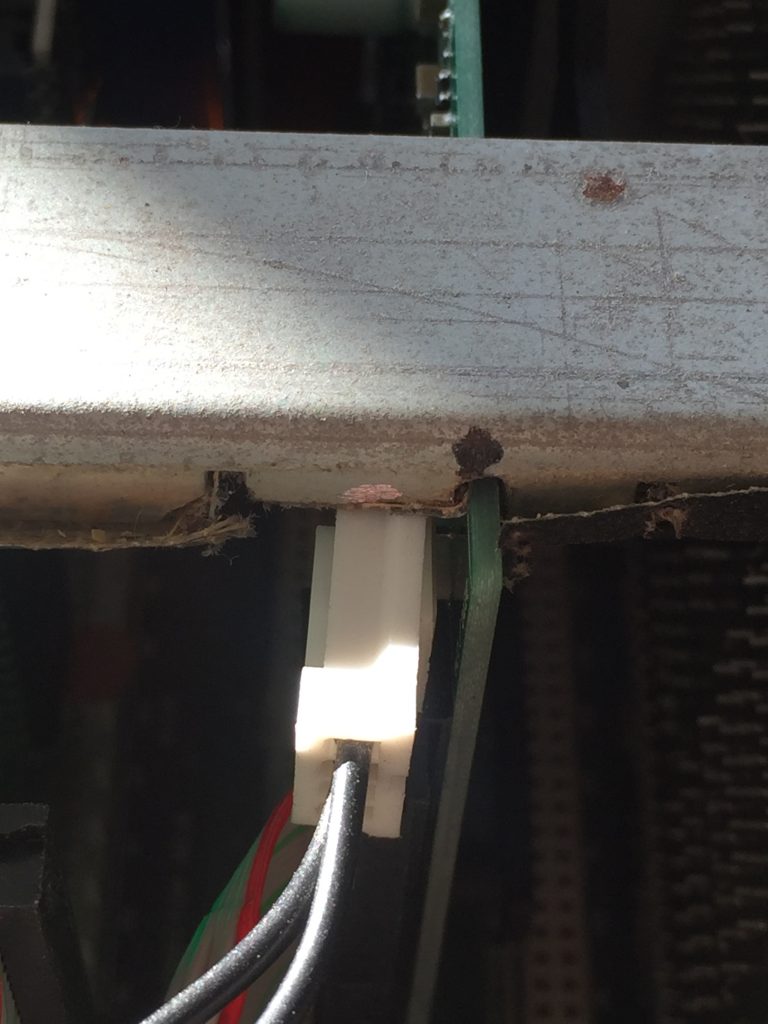
Step 6 – Power supply for SCSI2SD
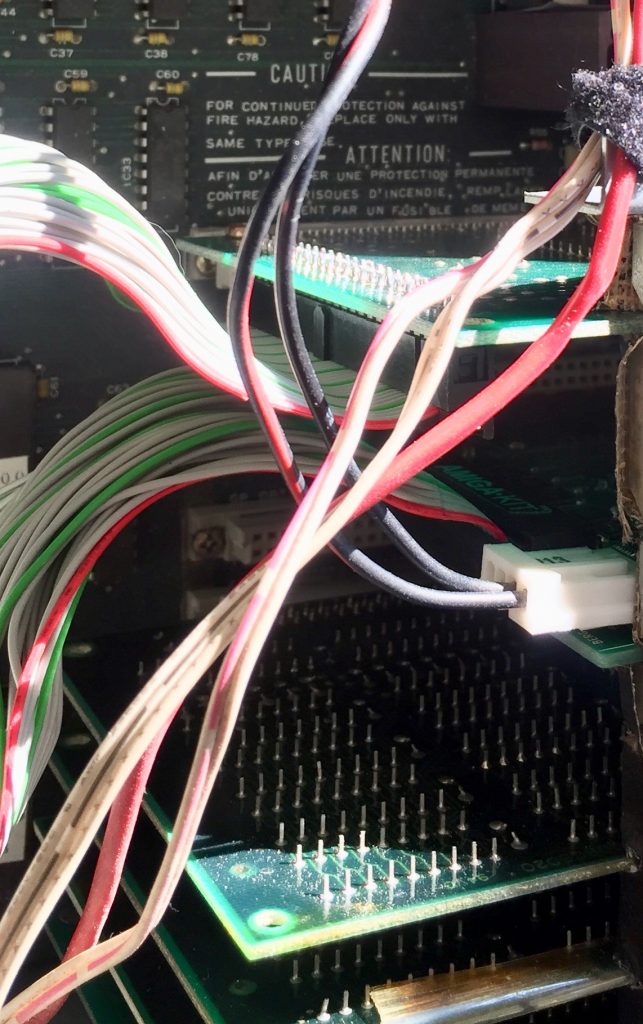
I simply cut off a floppy power supply connector from an old PC PSU I had lying around. You can remove the yellow wire from it as we don’t need +12V. You can grab +5V from the main switching power supply as there are no spare connectors on the motherboard which can be used. Use the terminals with the red (+5V) and black (ground) connected to it. ALWAYS measure the voltage before doing this to make sure you have the correct terminals!
Step 7 – Setting up SCSI2SD
The default settings for the S1000 is that SCSI ID 0 is used for an Atari MegaFile harddisk, ID 5 is used for an optional SCSI harddisk and ID 6 is reserved for the SCSI controller. This can be checked by pressing Disk and then F5.
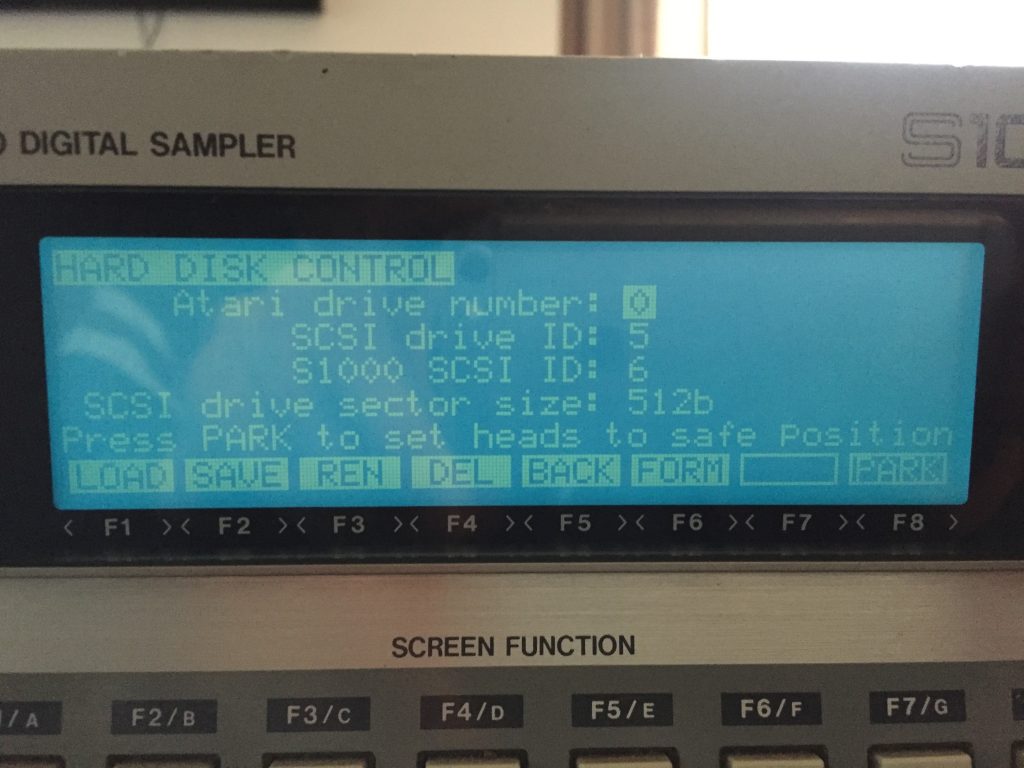
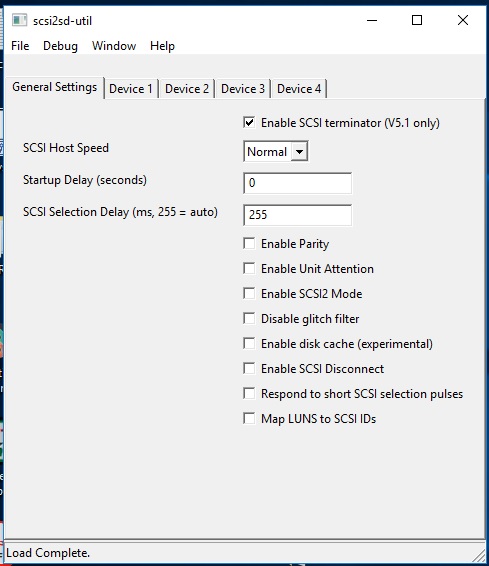
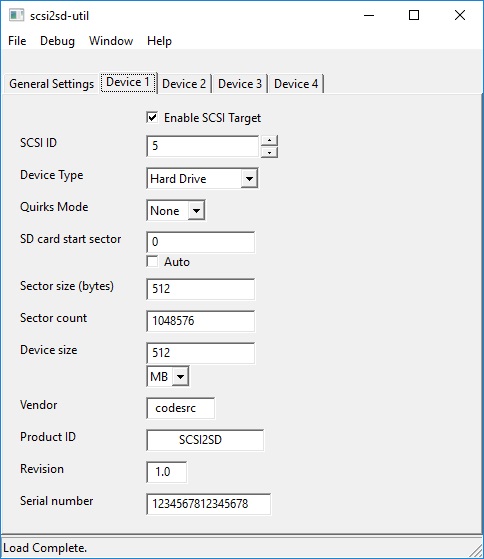
Simply hook up your laptop to the SCSI2SD, start the SCSI2SD utility and configure it with 512 byte sector, 512 MB size and ID 5. Leave the rest of the settings default (make sure termination is enabled).
Step 8 – Formatting time!
- Power up the S1000
- Press Disk
- Press F6 to format
- Select FORMAT FLOPPY OR HARD DISK : HARD-:
- Select HARD PARTITIONS size : 60 Mb
- Press F7
- Press F8 to confirm
- Get some tea or coffee 🙂
Note: The partitions are visible as Hard disk A to H