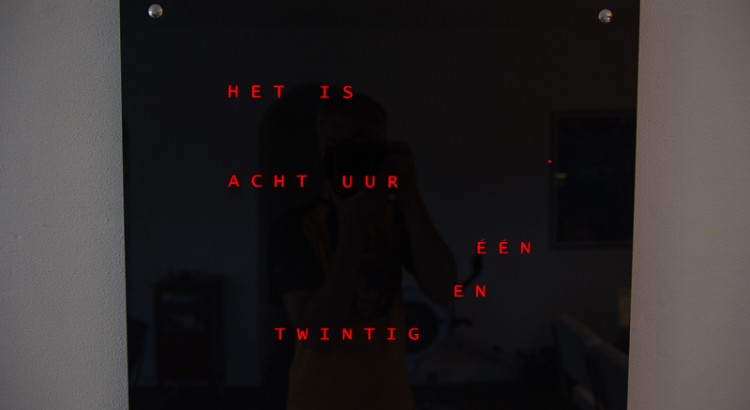
Quite a while ago, I had already started a project to build my own version of the famous Qlock Two by Biegert & Funk. I decided to build a dutch version and display the time in different format than the original. The original used 5 minute intervals with an extra led in each corner to show any extra minutes needed. I wanted to show all minutes instead in the “It’s now eight hours and twenty two minutes” format so one could see straight away what the time was.
The original was built with an Arduino Duemilanove (2009 in Italian) with an extra ethernet shield for network connectivity to fetch the time through NTP.
This worked fine but the added shield made the board quite thick and the communication between the Arduino and shield had some intermittent issues as well. I also had some other issues with the proper visibility of the words which led to a complete rebuild of the clock. The old version used high intensity white leds but with sunlight shining on the clock, it was still quite hard to see which leds were on and off. The new version now uses red leds and has an extra red plastic plate in front to filter unwanted sunlight out.
I purchased a new Intel Galileo as this board has integrated ethernet and should be Arduino compatible. Should be. It turned out the board runs on a mini Linux kernel with Arduino code on top and the time library is completely different. My old code even wouldn’t compile properly.
After some weeks of struggling with the code and board, I decided to get a proper Arduino compatible board with integrated wifi.
The Cactus Micro is basically an Arduino Lilypad compatible board with an ESP8266 wifi controller. However, I did oversee one small but important matter: Even though the Cactus Micro is fed with a 5V power supply, the digital outputs are 3.3 V. The MAX IC’s which drive the led matrix need at least 3.5 V for a “1” signal so this didn’t work.
As I got a little bit fed up with this (understatement), I have used the original Duemilanove with a DS1309 RTC for timekeeping to at least finish up this project. At some point in time, I’ll replace it with an Arduino Yun (integrated wifi and ethernet) to fix the ethernet connectivity and add some extra features to the clock.


